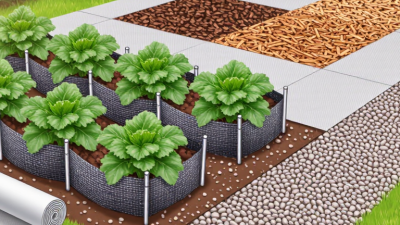
7 Tips for Choosing the Best Garden Weed Barrier
Weeds can return through a narrow gap, around an exposed edge, or in a layer of soil carried by wind. A garden weed barrier can reduce unwanted growth, but it is not a cure-all. The right choice depends on the bed, the plants, and how water moves through the soil. A path beneath gravel has different needs from a vegetable bed that gets replanted each season.
Start by looking closely at the space. Is the soil sandy or heavy? Does rain soak in, or sit near the surface? Note how much sun reaches the bed, and whether roots need room to spread. Then compare barrier materials, water permeability, durability, and ease of cutting. Check product instructions rather than relying on a label alone. Small details matter.
There is no perfect option for every garden. Some barriers can make planting or future soil changes less convenient, and uncovered edges may still let weeds through. That part is easy to miss. A useful choice balances weed control with healthy drainage and practical upkeep. For example, a gardener growing annual vegetables may value easy access, while a gravel path may call for a sturdier, longer-lasting layer. These seven tips will help you assess those trade-offs before buying. They are a starting point, not a substitute for observing your own soil over time. Even careful planning has limits. A little trial and adjustment may be needed.
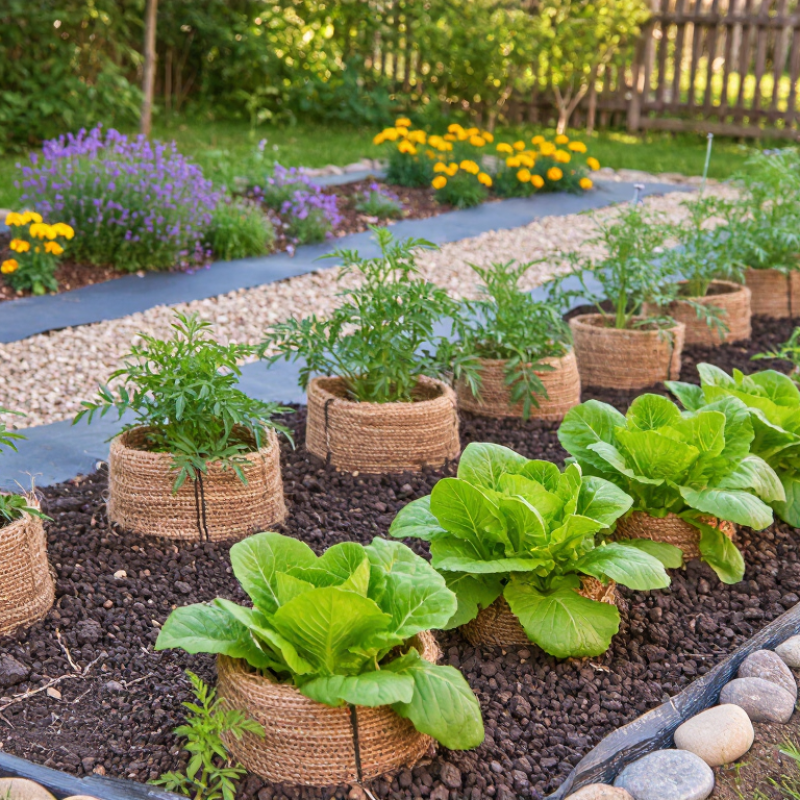
Identify the Weeds and Garden Conditions You Need to Address
Before choosing a weed barrier, identify what is growing and how it spreads. Pull a few weeds and inspect their roots. Shallow, seed-grown weeds differ from grasses that send runners beneath the soil. Look for where new shoots appear after rain or watering. Tip: Check the same patch for several days; one quick glance can miss creeping growth.
Then assess the garden conditions. Is the bed sunny and dry, or shaded and often damp? Note slopes, irrigation lines, and areas where water pools. A dense barrier may suppress weeds, but it can also slow water movement or limit air exchange near the soil. In a vegetable bed, consider whether you need to plant through the material or uncover soil each season. Small details matter.
Match the barrier to the problem, not just the label. For persistent runner-forming weeds, plan on careful removal before covering the bed; fabric alone may not stop established roots. For scattered annual weeds, a permeable layer under mulch may be enough. Check the area after installation, especially around edges and planting holes. I may be giving the worst patch too much weight, but choosing for its toughest weeds can prevent an early mismatch.
Compare Weed Barrier Materials and Their Intended Uses
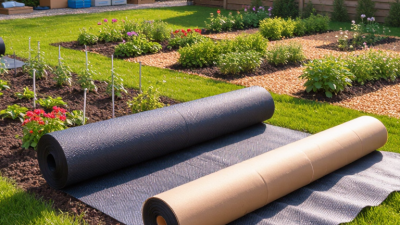
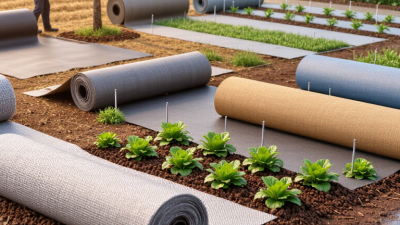
A garden weed barrier should match the bed, not just the weed. Woven polypropylene lets water and air pass through, making it useful beneath gravel paths or permanent ornamental beds. Check the fabric’s weight and permeability; a dense weave can slow drainage in clay soil. It is less convenient around vegetables that need frequent replanting.
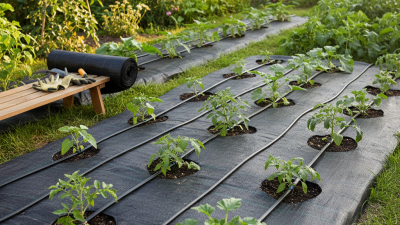
For annual vegetable beds, black plastic warms soil and blocks light, but rain cannot pass through it. Drip irrigation beneath the sheet helps deliver water to roots. For sloped beds or short-term projects, biodegradable paper or fiber mats can suppress weeds without leaving persistent fabric behind. They break down sooner, though, and may need replacing after a wet season. That trade-off is easy to overlook.
Organic mulch is a different kind of barrier: it covers soil while adding organic matter as it decays. Penn State Extension recommends a 2–3-inch layer for landscape beds; keep it clear of plant stems to reduce moisture-related damage. NC State Cooperative Extension also advises maintaining mulch depth rather than piling it against trunks. Measure the bed before buying, and check how water drains after installation. Small trial areas help. A barrier can suppress weeds, but windblown seeds may still sprout on top.
Evaluate Durability, Water Flow, and Soil Health
A weed barrier should last through real garden conditions, not just look sturdy on the day it is installed. Check the material’s resistance to tearing, sunlight, and regular foot traffic. If you garden around shrubs, consider whether the fabric can be cut cleanly without fraying. A very heavy barrier may seem safer, but it can be awkward to fit and may restrict water movement. More durable is not always better.
Water flow matters after a hard rain. Pour water through a sample and watch whether it passes steadily or beads on the surface. In the garden, slow drainage can leave puddles around roots, especially in compacted soil. Also check the barrier after watering: if water runs off toward a path, the fabric may be too dense for that spot. Small details count.
Soil needs air, moisture, and organic matter—not just weed control. A permeable barrier can help rain reach the root zone, but it may still make adding compost or checking soil harder. Leave openings around plant stems, and inspect beneath the fabric now and then for dry patches or sour-smelling, soggy soil. It is easy to forget this step. That can be a mistake. Choose a barrier that suits your soil and planting plan, then be willing to adjust it if the ground responds poorly.
Choose the Right Barrier Size and Installation Method
Measure the bed before buying a weed barrier. Include the full soil area, not just the planting rows, and add material for overlaps and edges. For most straight beds, a few extra inches on each side help secure the fabric beneath mulch or soil. Curved borders need more careful measuring. A paper sketch with the bed’s length and width can prevent awkward gaps.
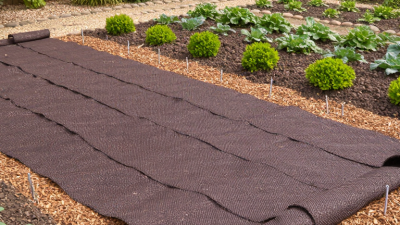
Choose a width that suits your installation method. A single sheet is quick to lay, while narrower rolls can be easier to handle around shrubs and raised beds. Where sheets meet, overlap them by about six inches, or follow the product’s installation directions if they specify more. Keep seams away from the main planting line when possible. Small gaps can invite weeds through. Secure the barrier with landscape pins, especially along edges and windy corners, then cut neat openings for plants. Make each opening only as large as needed; oversized cuts expose soil and may let weeds take hold. Check the fabric after spreading mulch, since rakes can shift it. Even careful measuring can miss a bend in the bed, so allow a little extra material. I sometimes find that “a little” becomes more than expected.
Plan for Maintenance and Long-Term Garden Care
A weed barrier is not a one-time fix; it becomes part of your garden’s maintenance routine. Leave access to edges and paths, where windblown seeds often collect. Check the fabric every few weeks during the growing season. Pull small weeds before their roots work through seams or planting holes. That takes minutes. Waiting until they flower can mean more seeds in the soil.
Keep mulch at a modest, even depth, and top it up as it breaks down. Thick layers can trap moisture against stems, while thin spots let sunlight reach weed seeds. After heavy rain, look for shifted mulch, pooling water, and exposed fabric. Repair tears with overlapping material, but avoid covering drainage problems without finding their cause. Barriers can reduce weeds, not remove the need for healthy soil care. That distinction matters.
Over time, organic matter beneath an intact barrier may be harder to replenish. In beds where you regularly add compost or divide perennials, a permanent sheet can become inconvenient. It is tempting to cover every bare patch. That may be a mistake. Review the barrier each season, especially around young plants, and remove or replace sections when they block needed care. A few weeds are manageable. A neglected edge can spread quickly.
Plan for Maintenance and Long-Term Garden Care
A practical seasonal inspection plan for keeping a weed barrier effective.
Schedule more checks during the active growing season, and inspect after heavy rain or strong winds. Look for lifted edges, tears, exposed soil, and weeds growing through openings. The chart shows a suggested care schedule, not measured field data.