How to Choose the Best Plate Heat Press?
Choosing the best Plate Heat Press is less about buying the biggest machine and more about matching its working area, pressure, and temperature control to your projects. A press for small ceramic souvenirs may struggle with large dinner plates. A model with adjustable pressure and a shaped heating element can help distribute contact more evenly across curved surfaces. Check the plate sizes the manufacturer supports, too. A few millimeters can matter.
For this guide, fictional composite equipment specialist Lena Ortiz offers a practical rule: “Choose for the plate you press most, then verify the machine can handle the rest.” The advice is deliberately simple. Before comparing prices, note your typical plate diameter, substrate, daily volume, and available bench space. Look for clear controls, stable hinges, accessible replacement parts, and safety features such as insulated handles. Ask sellers about warranty coverage and compatible blanks. These details are easy to overlook.
The best choice depends on how consistently the press performs in real use. Read operating instructions, inspect the platen, and test settings on a spare plate when possible. Record temperature, time, and pressure instead of relying on memory. Results can vary with coatings and room conditions, so one successful test is not proof of a perfect setup. That part takes patience. A realistic buying decision weighs reliable support and repeatable results alongside the purchase price. A cheaper press may suit occasional craft work; frequent production may justify stronger construction and service access. No single model fits every workshop, and that is worth admitting before you buy.
Understanding Plate Heat Press Types and Their Uses
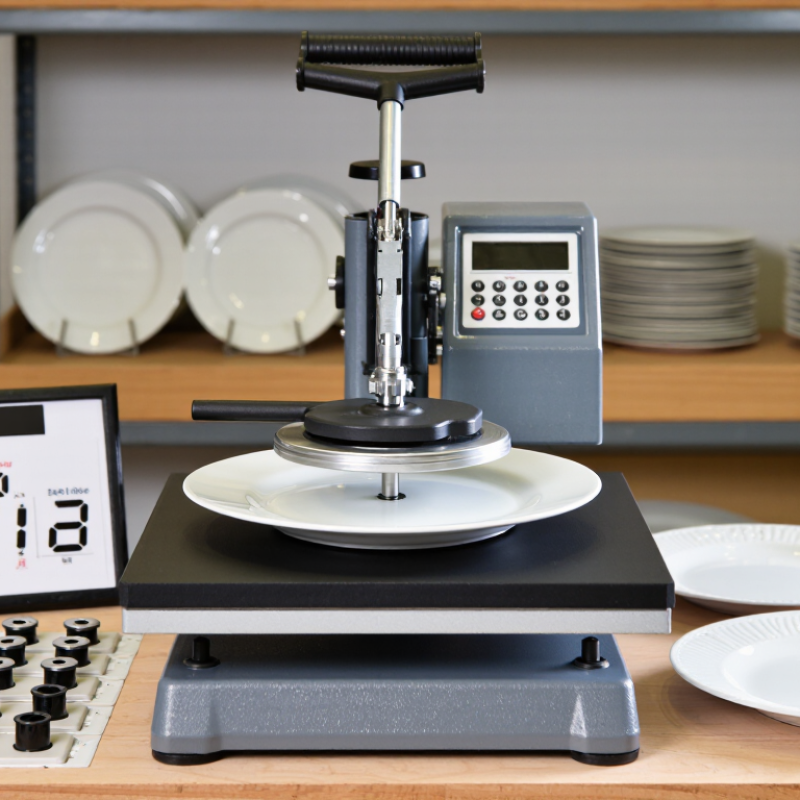
Plate heat presses generally use a flat, shaped platen to transfer designs onto plate blanks. A standard flat platen works well for common, evenly surfaced plates. It applies heat and pressure across the center, where prints often lose detail if contact is uneven. Check the platen’s usable diameter against your plate, not just its outer rim. Small details matter.
Some models include interchangeable platens for different plate sizes. They suit workshops handling several blank dimensions, though changing parts takes time and each platen needs careful alignment. Curved or recessed platens are designed to match specific plate shapes. They can improve contact near the edges, but only when the blank matches the platen’s profile. A mismatch may leave pale patches or blurred details.
Presses also differ in how they apply pressure. Manual models use a lever and are simple to operate for occasional projects. Pneumatic models use air pressure, which can make repeated pressing more consistent, but require an air supply and adjustment. In practice, consistency still depends on the blank’s coating, the transfer material, and the settings recommended for them. I would test one spare plate before a full batch; even a good-looking setup can need small adjustments.
Matching Press Size and Heating Elements to Your Plates
A plate heat press should match the plates you actually plan to decorate, not just the largest plate listed in its specifications. Measure the flat area and outer diameter of your blanks, including any raised rim. A plate that measures eight inches across may have a much smaller printable center. Leave room for the rim, and check whether the press’s plate insert supports the plate’s shape without rocking. It is tempting to buy the largest press available, but an oversized element can make alignment awkward. Small details matter.
The heating element should distribute heat across the printable area and suit the plate’s curve. A flat or mismatched insert may heat the center well but leave edges cooler, causing uneven transfer. Compare the press’s insert dimensions with your plate measurements, and confirm compatibility in the equipment instructions. Check that pressure can be adjusted without forcing the plate against the element. Too much pressure can stress a ceramic blank; too little may produce pale areas. Test settings on a spare plate before preparing a finished piece. Results can vary with coating, room conditions, and the plate itself, so keep notes on temperature and pressing time. Perfect settings are not guaranteed. A simple test can reveal a mismatch before it wastes a good blank.
How to Choose the Best Plate Heat Press? - Matching Press Size and Heating Elements to Your Plates
| Plate Outer Diameter | Suggested Heating Element Size | Plate Shape and Printable Area | What to Check Before Buying |
| 6–7.5 in (15–19 cm) | Approximately 6–8 in (15–20 cm), shaped for plate pressing | Small, shallow plates; keep the design within the element’s evenly heated area. | Confirm that the holder supports the plate’s diameter and curve, and that the element does not press hard against the rim. |
| 7.5–9 in (19–23 cm) | Approximately 8 in (20 cm), if the usable heated area covers the design | A common size range for small-to-medium decorative plates. | Compare the element’s usable contact area—not just its outside dimensions—with the plate’s printable area. |
| 9–10.5 in (23–27 cm) | Approximately 10 in (25 cm), or a compatible larger element | Medium-to-large plates; deeper curves may require a matching plate holder or pad. | Check the maximum supported plate diameter, element compatibility, and clearance for the plate rim. |
| 10.5–12 in (27–30 cm) | A larger element specifically rated for the press and plate size | Large plates; the printable area can vary substantially with the plate’s shape and depth. | Verify the press frame capacity and manufacturer’s stated maximum plate size before choosing an element. |
| Irregular, deep, or unusually shaped plates | An element and holder designed to match the plate’s contour | Non-standard shapes may have limited flat or evenly supported printable areas. | Check the plate profile and contact points; test on a blank plate to assess pressure and heat coverage. |
Note: Plate dimensions and press specifications vary. Match the press to the plate’s outer diameter, depth, and shape, and confirm that the heated area covers the intended design. Follow the press and transfer-material instructions for temperature, pressure, and pressing time.
Evaluating Temperature, Pressure, and Control Features
A good plate heat press should deliver even heat, repeatable pressure, and controls that are easy to verify. A stable display matters, but the platen’s corners can still run cooler than its center. Check temperature across the full plate with a suitable surface probe, then test pressure using the same blank and setup each time. Small differences matter.
ASTM E230/E230M lists Type K thermocouple standard limits of error as ±2.2°C or ±0.75%, whichever is greater. That is a useful reminder: a displayed number is not perfect truth. NIST Technical Note 1297 also explains how measurement uncertainty should be considered when interpreting results. For practical selection, look for a readable timer, independent temperature adjustment, and pressure settings that can be repeated—not just a powerful handle. I would still verify performance after setup; the first test can expose uneven contact or a drifting reading.
Tips: Press a test blank, then check color and edge consistency. Record the temperature, dwell time, and pressure setting. If results vary, change one setting at a time. This takes longer, but makes troubleshooting less like guesswork.
How to Choose the Best Plate Heat Press?
Compare typical starting temperature ranges for common heat-transfer applications. These are practical reference ranges, not universal settings.
What to look for: Choose a press with even platen heating, adjustable pressure that distributes force consistently across the plate, and clear digital temperature and timer controls. Pressure has no single standard setting across blanks and transfer materials, so follow the material supplier’s instructions and test a sample before production.
Checking Material Compatibility, Safety, and Maintenance Needs
A plate heat press should match the plates you actually plan to decorate. Check the usable diameter, rim height, and curve of each blank against the press’s heating element and pad. A plate that looks flat may have a raised edge that receives uneven pressure. Not every plate fits. Confirm that the coating is intended for heat transfer, and follow the blank supplier’s temperature and time guidance. Test one sample before preparing a batch; color and finish can vary more than expected.
Safety depends on more than a timer. Look for steady temperature control, an adjustable pressure mechanism, a stable base, and handles that stay away from the heated area. Keep the press on a firm, heat-resistant surface, and use suitable hand protection when handling hot plates. Check the power cord and controls for visible damage before use. It is easy to focus on print quality and overlook the hot metal around the work area.
Maintenance helps keep transfers consistent. Unplug the press and let it cool before cleaning. Remove dust or adhesive residue with a soft cloth, not an abrasive pad that could damage the heating surface. Inspect the silicone pad for dents, peeling, or hardened residue; small defects can leave uneven marks. I would not assume that a quick wipe solves every problem. If temperature readings drift or electrical parts appear damaged, stop using the press and consult its service guidance.